Most times adding a signature to your Microsoft Word Document is very important for some reasons but then the question you could be asking now is, How to Insert a Signature in a Microsoft Word Document?.
Then don’t worry because this article has answered these questions by providing various steps you can use to insert your signature in a Microsoft Word document.
How to Insert a Signature in a Microsoft Word Document
How to Insert a Handwritten Signature
in other to do this, a scanner will be needed. once you can get a scanner, move on to the next step
⇒Join us on Telegram for more Sure and Accurate football-winning tips every day...click here
- On a piece of paper, sign your name.
Scan the page and store it in a popular file type such as.bmp,.gif,.jpg, or.png on your computer. - Operate the manufacturer’s handbook or Web site to learn how to use your scanner.
- To begin, open the image file.
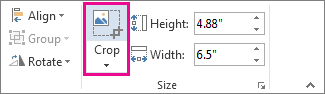
- Crop the image by clicking it to open the Picture Tools Format tab, then clicking Crop and cropping the image.
- Right-click the image, and then select the option, Save as Picture to save the picture as a separate file.
- Click Insert > Pictures, To add the signature to a document,

How to Insert typewritten text with your reusable signature
If you want your work title, phone number, or email address to appear in your signature, save it as AutoText along with the image.
- Under the inserted image, type the wording you desire.
- Select the image as well as the textual text.
- Select Quick Parts from the Insert menu.
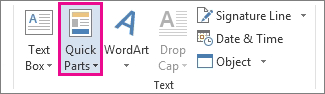
- Click Save Selection to Quick Part Gallery. Then Create New Building Block box opens.
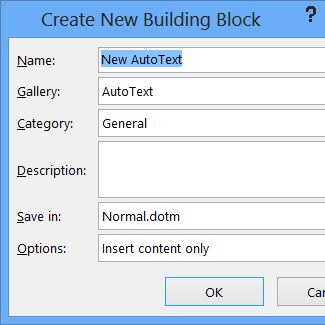
- Type a name for your signature block in the Name field.
- Select AutoText from the Gallery box.
- Click OK.
- Place the insertion point where you wish to insert the signature block when you want to utilize this signature.
- After that, go to Insert > Quick Parts > AutoText and select the name of your signature block.
How to Insert a signature line
To show where to sign a document, use the Signature Line command to insert a signature line with an X next to it.
- Place the cursor where you want the line to appear.
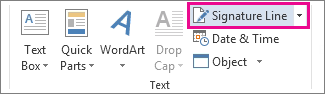
- Select Signature Line from the Insert menu.
- Select Microsoft Office Signature Line from the drop-down menu.
- You can type a name in the Suggested signerbox in the Signature Setup field. In the
- Suggested signer’s title box, you can additionally add a title.
- Click OK. In your document, there is a signature line.